read
Quick VPN endpoint all to yourself using your Azure (or AWS) subscription based on the Trail of Bits Algo project:
If you’re on Windows, fire up WSL to make your life easier then do:
- Make sure you’ve configured the Azure CLI. That will ensure that an azureProfile.json exists.
git clone https://github.com/trailofbits/algo.gitcd algopython3 -m virtualenv --python="$(command -v python3)" .env && source .env/bin/activate && python3 -m pip install -U pip virtualenv && python3 -m pip install -r requirements.txt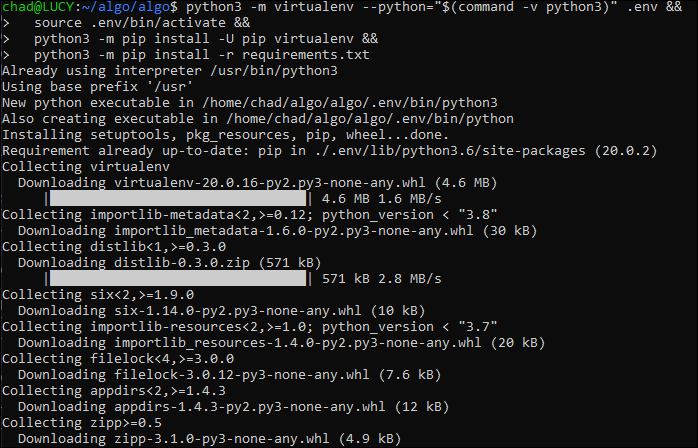
- Edit
config.cfgto suit. At the very least you’ll want to configure users right at the top of the file. - run
./algoand answer the questions. - Done.
ok: [51.219.8.110] => {
    "msg": [
        [
            "\"#                          Congratulations!                            #\"",
            "\"#                     Your Algo server is running.                     #\"",
            "\"#    Config files and certificates are in the ./configs/ directory.    #\"",
            "\"#              Go to https://whoer.net/ after connecting               #\"",
            "\"#        and ensure that all your traffic passes through the VPN.      #\"",
            "\"#                     Local DNS resolver 172.11.11.212                   #\"",
            ""
        ],
        "    \"#        The p12 and SSH keys password for new users is abcde       #\"\n",
        "    ",
        "    \"#      Shell access: ssh -F configs/51.219.8.110/ssh_config duff        #\"\n"
    ]
}
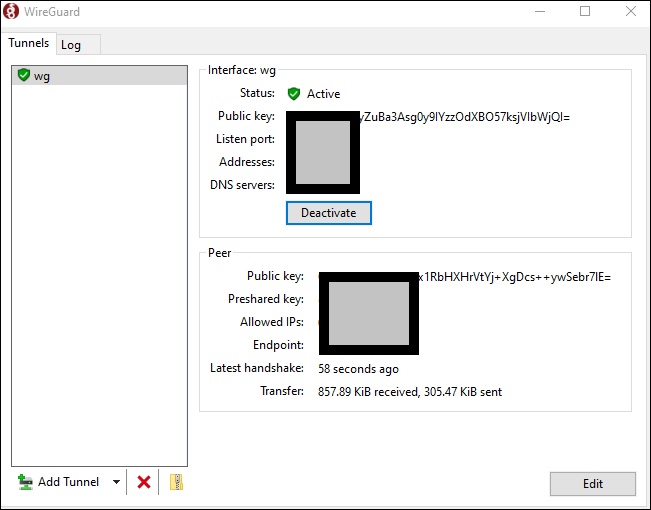
- Then, download the wireguard client for your OS.
- Navigate to
configs/51.219.8.110/wireguard(replacing the IP address with your cloud IP). - There should be a config file for each of the clients you defined in step 5. Copy the config file to the machine that you are going to use the VPN client on.
- Then just open the Wireguard client, open the configuration file and click “Activate”.